
In order to add images to your online shop, you must first upload them. You can do this by clicking on “Filelist” under “File”. Special images such as sliders are divided into folders for different topics.
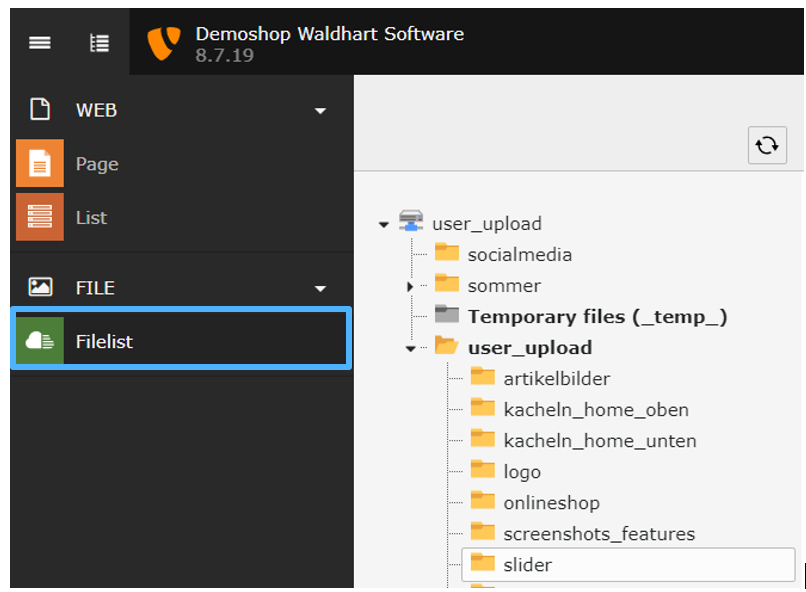
Navigate to the desired folder and click the “Upload button”  . A dialogue window appears in which you can specify the images to be uploaded.
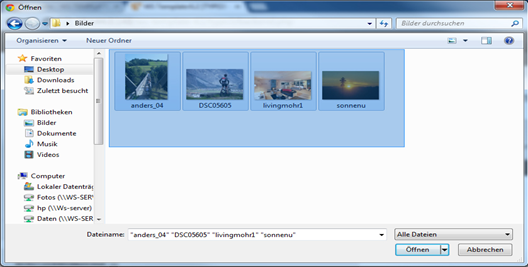
In order not to have to select each picture individually, it is most convenient to mark all the pictures at once and click on “Open”.
The computer does the rest by itself and you can work with these image once you have uploaded them successfully.
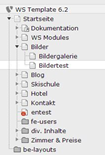
Now switch the top left view to “Page” and select the desired content page on which the images are to be displayed.
Here in the example it would be the "Bildertest " page.
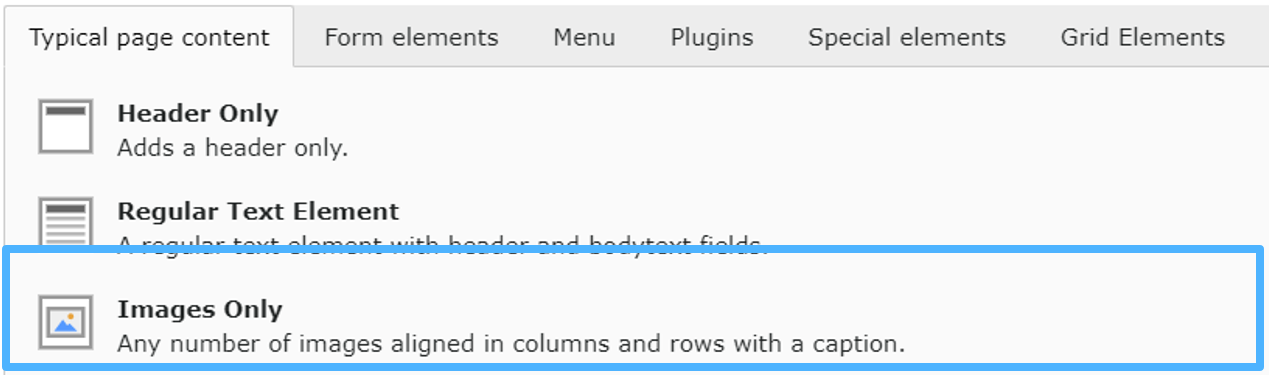
Use  to create a new data file. In this case, select “Images Only”.
The “Images” tab and the “Add image” button take you to the file list of your online shop.
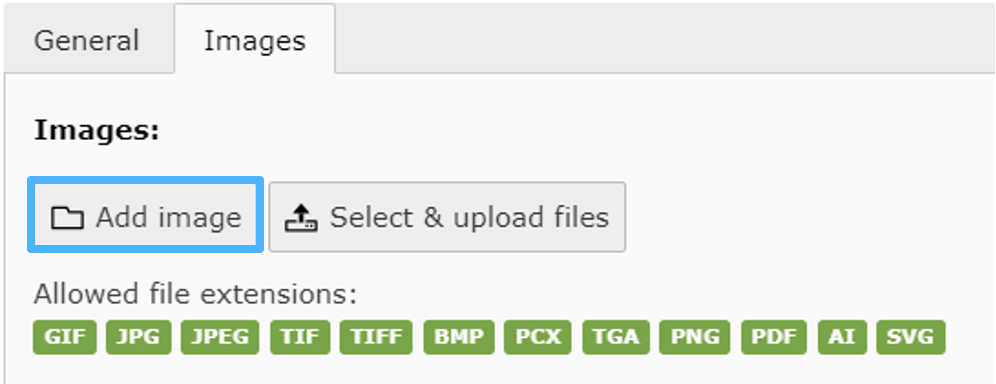
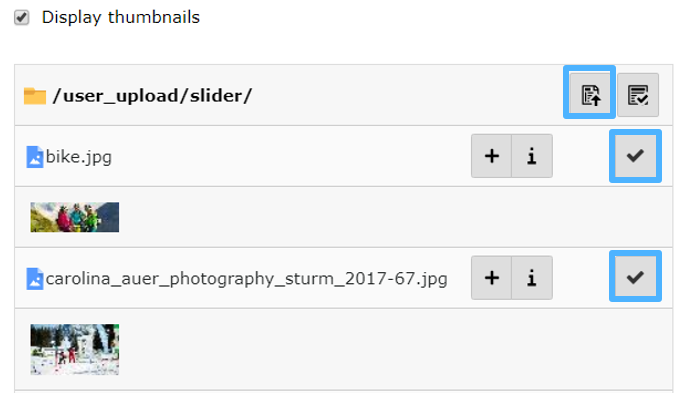
In this window you navigate to your pictures, tick the pictures that you would like to have on the online shop and confirm your selection via "Import selection".
Then, if desired, the images can be edited directly in the backend:
Open the edit menu with the small triangle symbol to the left of the picture and open the editor.
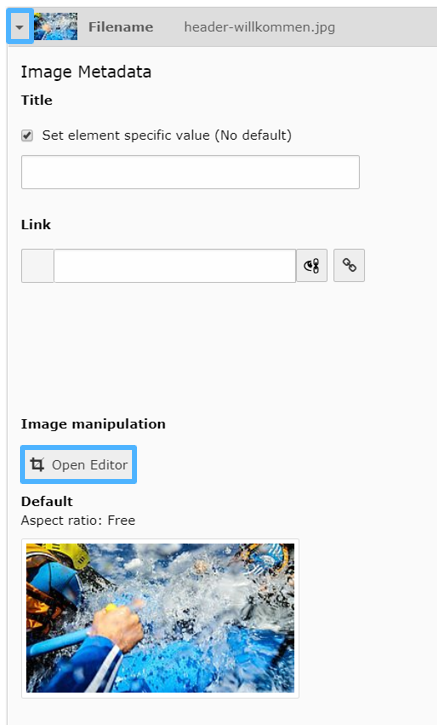
The aspect ratio can now be set as desired in the editor, or you can use the setting “Free” to select the image section freely with Drag and Drop on the side and corner points. Then “Accept”.

Kommentare
0 Kommentare
Bitte melden Sie sich an, um einen Kommentar zu hinterlassen.